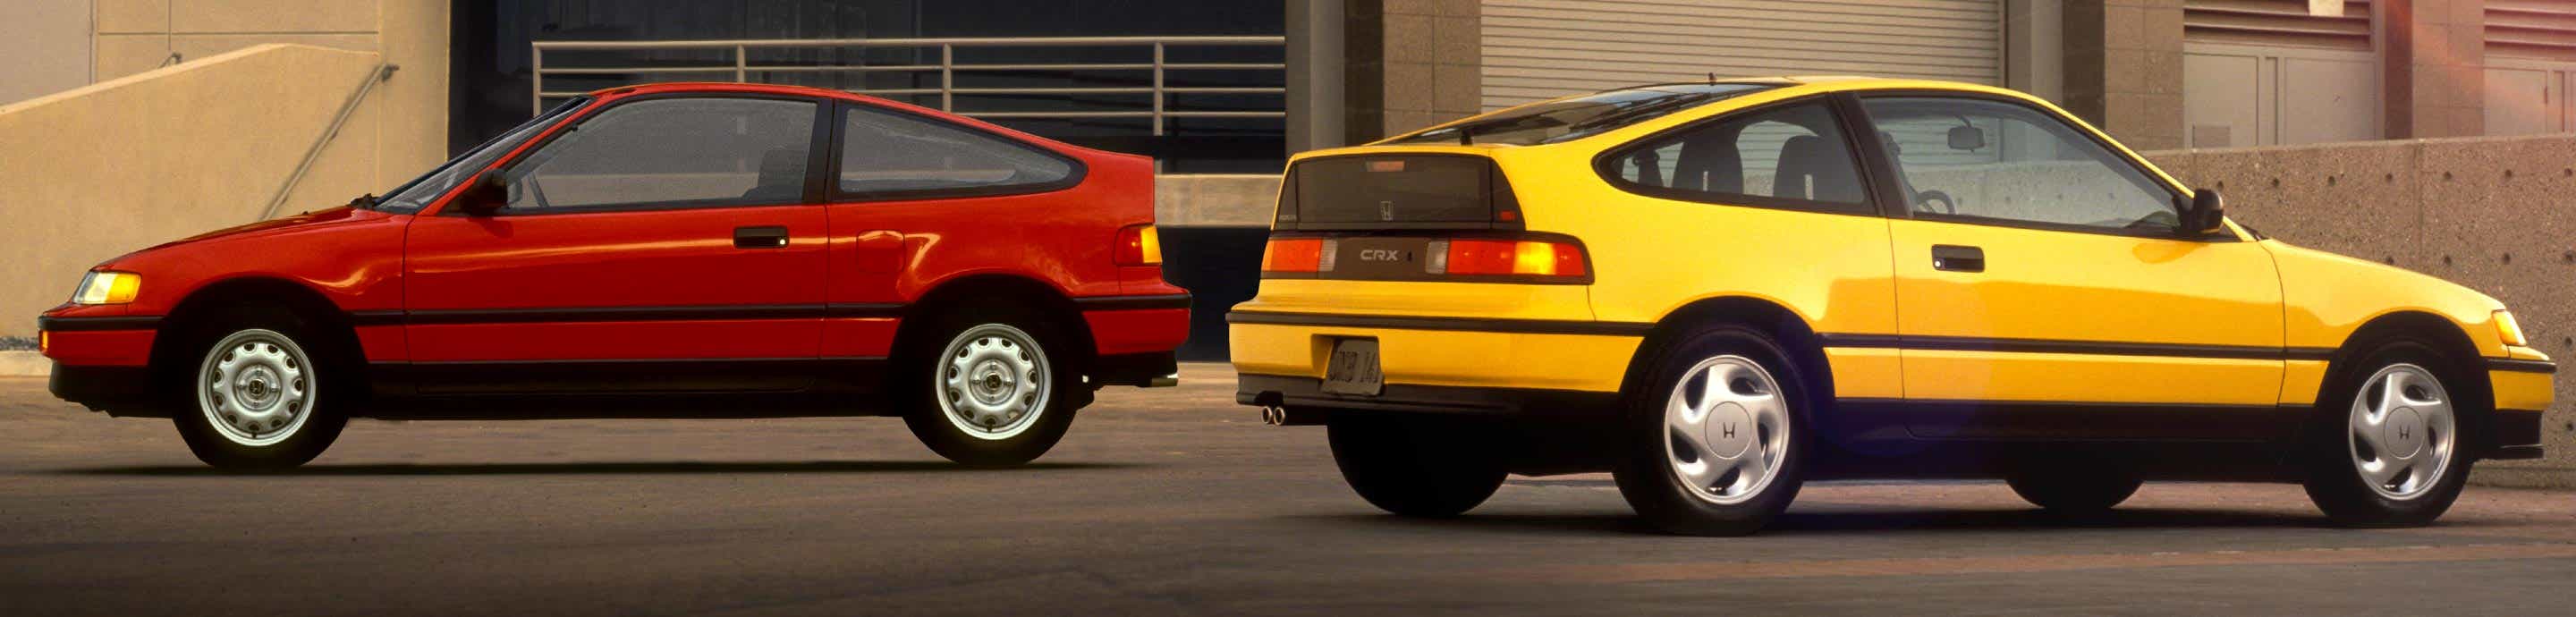

Background
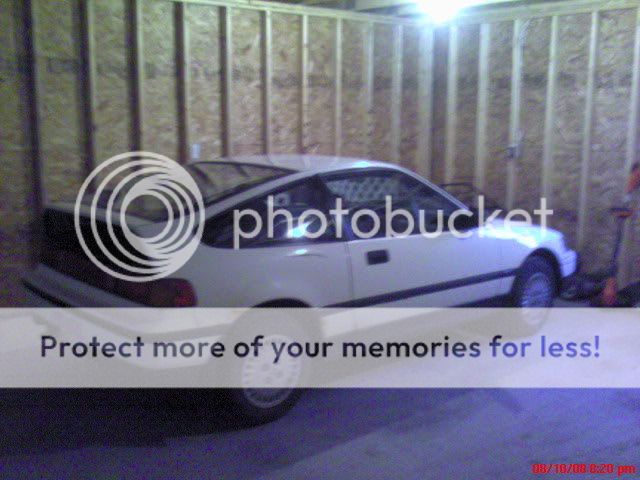
Before I even get start this is going to be a slow process I am pretty poor being a student and like things done right so that means I either have to borrow or buy many tools. I bought this car way back as my first car when I was 16. I knew nothing (and haven`t gained much) about cars, how they worked or even how to properly maintain them. When I originally arrived with the car it was rust free but later I found out that there was a ton of rust under the bondo. Here is the earliest pictures I have of the car (Sorry they are crappy cell phone pictures):
![Image]()
![Image]()
![Image]()
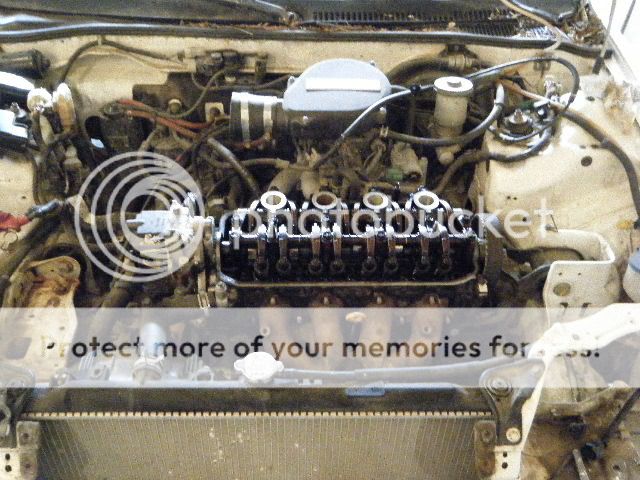
She has a stock D15b2 engine with an automatic transmission which was a must at the time! To be quite honest I bagged the *beep* out of her. The engine now has a blown head gasket, worn piston rings and well an old heavy auto tranny that needs to be changed hopefully to an manual. Since those pictures I was rear end twice, backed into twice and hit and run while parked 3 times in my school parking lot . So anyways I guess I will begin with my crazy rust removal and restoration.
The Rusty
Here is the dirty engine bay as it currently stands.
![Image]()
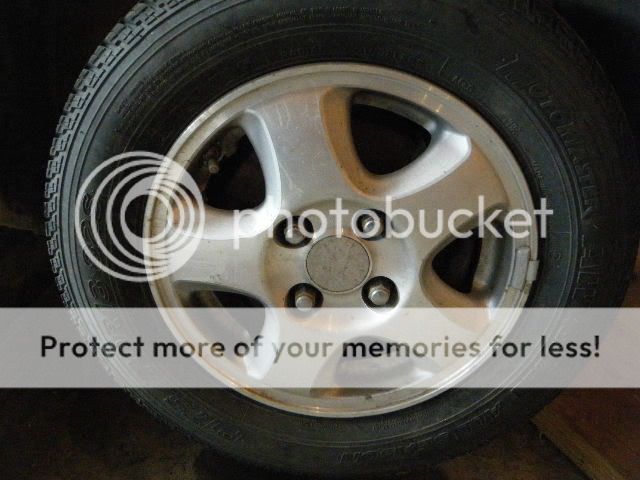
I replaced the hubcaps with these alloy wheels I believe they are a 92-95 Civic SI wheels; they remind me of mini fat fives.
![Image]()
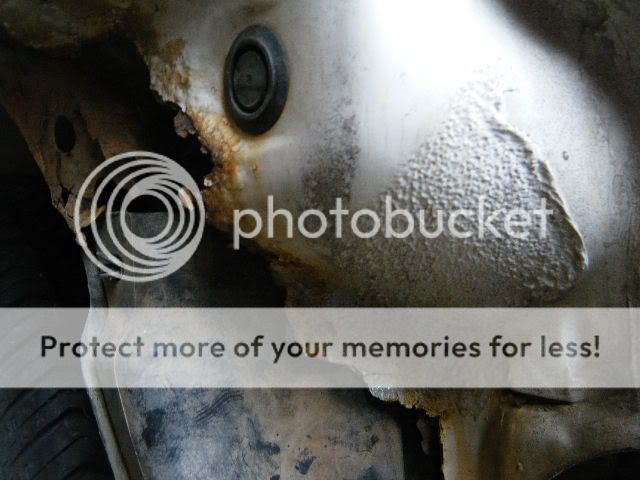
Rear passenger side wheel well rust.
![Image]()
More rear passenger side rust.
![Image]()
This is what greeted me once I removed the passenger side skirt :|.
![Image]()
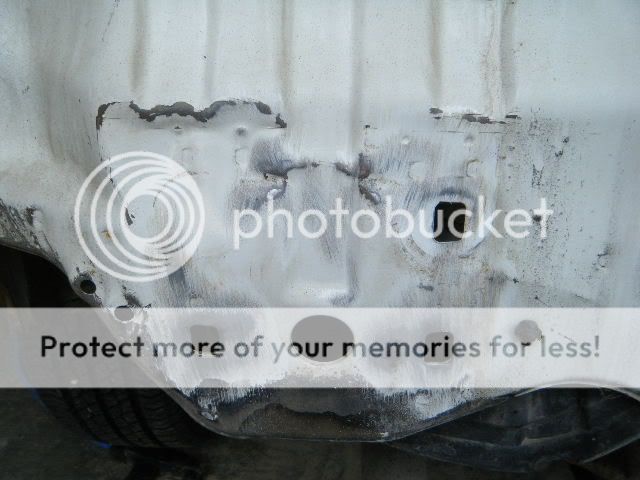
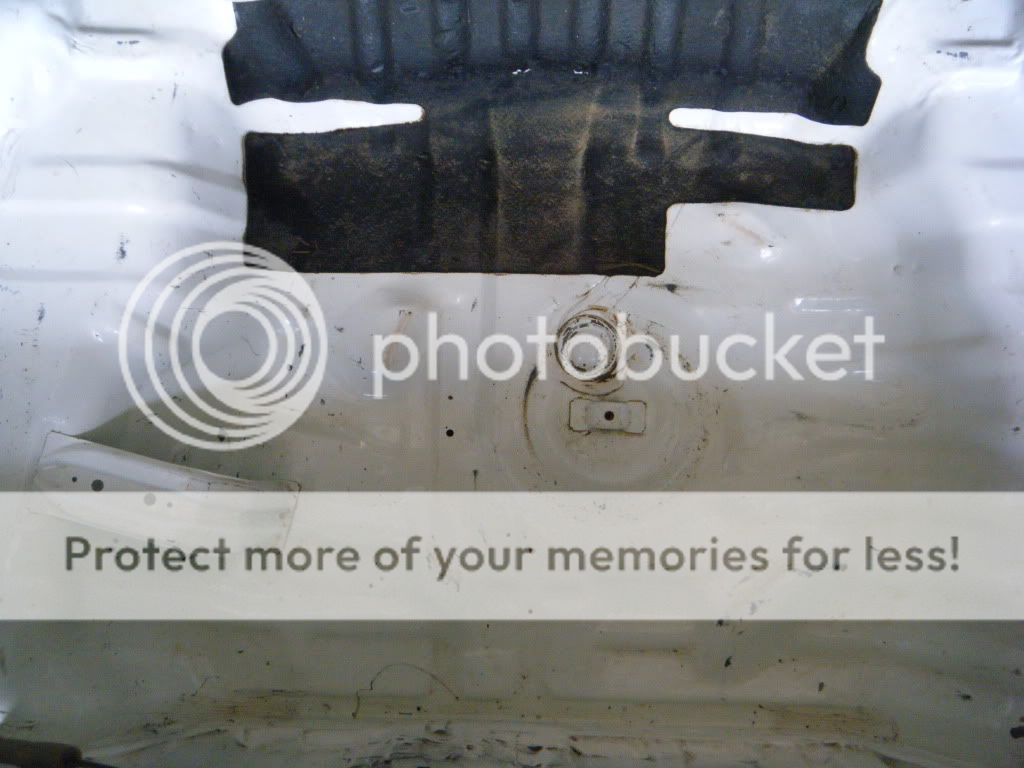
The rear end damage to the frame
![Image]()
The interior cleaning is going well, it was disgusting before this. I should of took a before shot.
![Image]()
Y8 Head I have been working on.
![Image]()
The money shot! :lol:
![Image]()
There was more oil in the combustion chamber then New Orleans drinking water When I removed the spark plugs they were drenched in oil :|, and the 3rd chamber one is cross threaded .
![Image]()
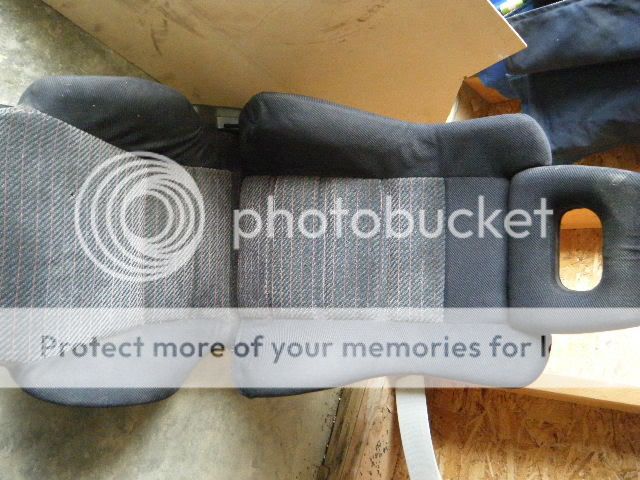
Passenger Side SI seat.
![Image]()
I did have a complete back seat but I removed part of it and it tragically died in our resent house fire
![Image]()
It will be a long path. Off our property.
![Image]()
Plans
Before I even get start this is going to be a slow process
I am pretty poor being a student and like things done right so that means I either have to borrow or buy many tools. I bought this car way back as my first car when I was 16. I knew nothing (and haven`t gained much) about cars, how they worked or even how to properly maintain them. When I originally arrived with the car it was rust free but later I found out that there was a ton of rust under the bondo. Here is the earliest pictures I have of the car (Sorry they are crappy cell phone pictures):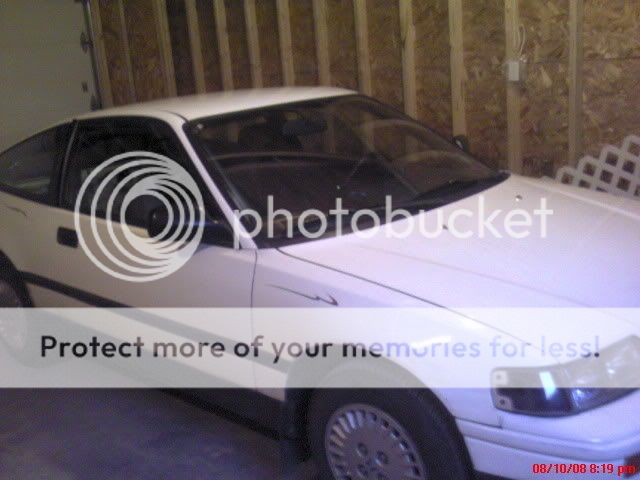

She has a stock D15b2 engine with an automatic transmission which was a must at the time! To be quite honest I bagged the *beep* out of her. The engine now has a blown head gasket, worn piston rings and well an old heavy auto tranny that needs to be changed hopefully to an manual. Since those pictures I was rear end twice, backed into twice and hit and run while parked 3 times in my school parking lot
. So anyways I guess I will begin with my crazy rust removal and restoration.The Rusty
Here is the dirty engine bay as it currently stands.
I replaced the hubcaps with these alloy wheels I believe they are a 92-95 Civic SI wheels; they remind me of mini fat fives.
Rear passenger side wheel well rust.
More rear passenger side rust.
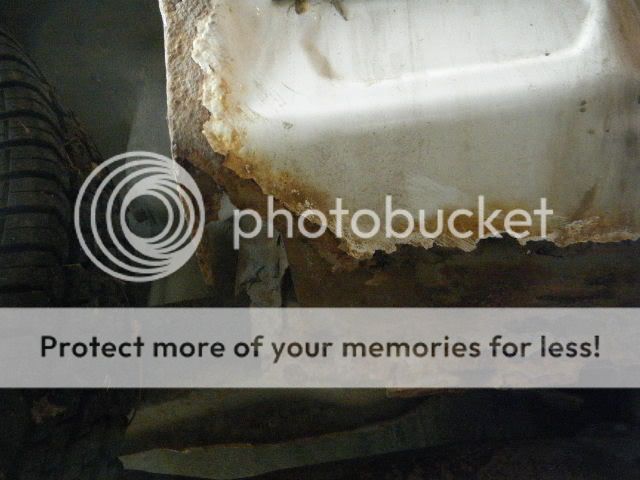
This is what greeted me once I removed the passenger side skirt :|.

The rear end damage to the frame
The interior cleaning is going well, it was disgusting before this. I should of took a before shot.
Y8 Head I have been working on.

The money shot! :lol:

There was more oil in the combustion chamber then New Orleans drinking water
When I removed the spark plugs they were drenched in oil :|, and the 3rd chamber one is cross threaded .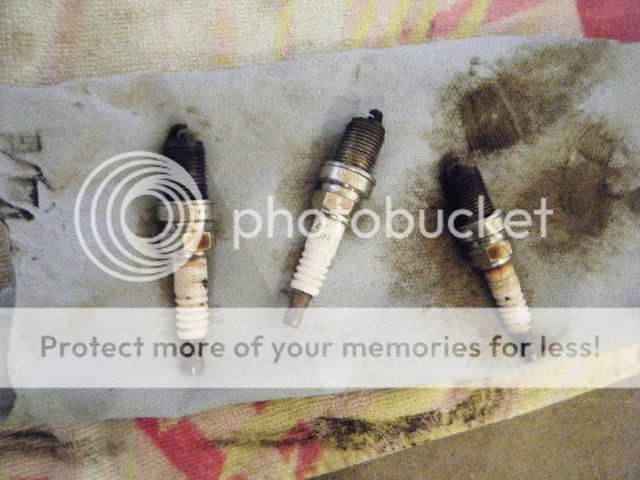
Passenger Side SI seat.
I did have a complete back seat but I removed part of it and it tragically died in our resent house fire

It will be a long path
. Off our property.
Plans
- :!: My first goal is to stop the cancer from spreading
:!: Engine wise nothing too concrete at this moment, I do have a Y8 Head and a P75 laying around though.
:!: Interior I would like to convert to a SI interior since IMHO blue interior pieces are not the greatest


