
I bought the Dr Colorchip kit a while back and I finally got around to trying it out. It works pretty good, but I deviated from the directions a bit with a step that is totally counter-intuitive.
You must clean the area with alcohol before starting to remove any dirt or wax on the surface.
Then you dab the paint into the chips with the supplied brush.
You are supposed to immediately smear the paint blob with your gloved hand (glove is supplied)
After the paint has dried, you wet the supplied wipe with the supplied SealAct and wipe the excess paint off.
Once I tied it the first time I figured that I could get better results if I started with a better surface. The paint had peaks and valleys from the rocks. If the Colorchip kit filled the valleys, I wanted to remove the peaks. This is where I deviated from the kit.
Warning!!! You can severely damage your paint if you are not careful or if you do not know what you are doing!
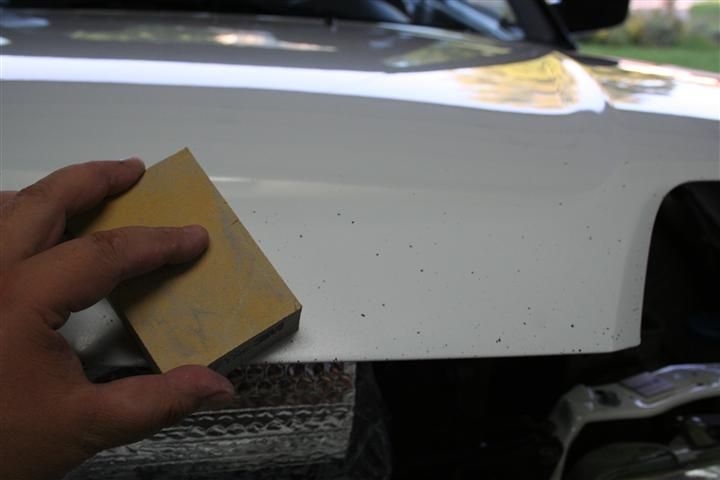
I sanded the road rashed area with a sanding block before starting. I'm not sure what grit it was, but I think it was 400 or 600. Be safe and use 1000 grit paper.
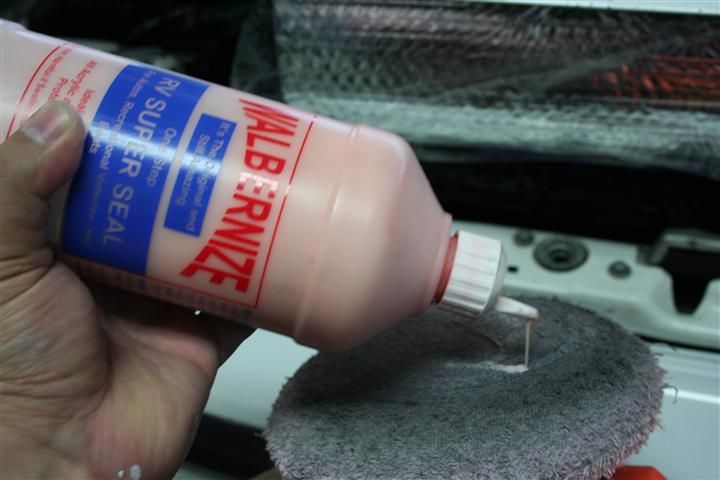
After sanding, I buffed it out with a polisher and Walbernize. I don't know if it is the proper thing to use, but it's what I had on hand.
After the scratches had been buffed out, I proceeded to use the kit as directed. I suppose you can repeat it to fill deep chips. In the end, the chips are still there, but they are pretty much hidden by the touch up paint. It's not perfect, but it's cheaper than a respray.
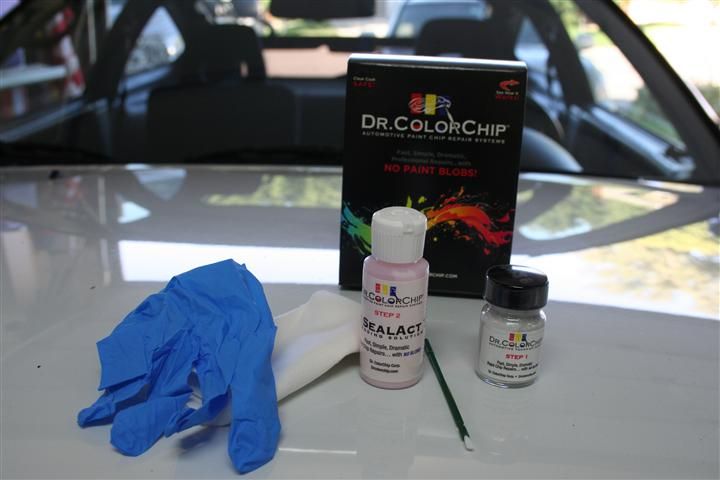
This is what comes in the kit: The "Special cloth" felt like a cleanroom wipe.
![Image]()
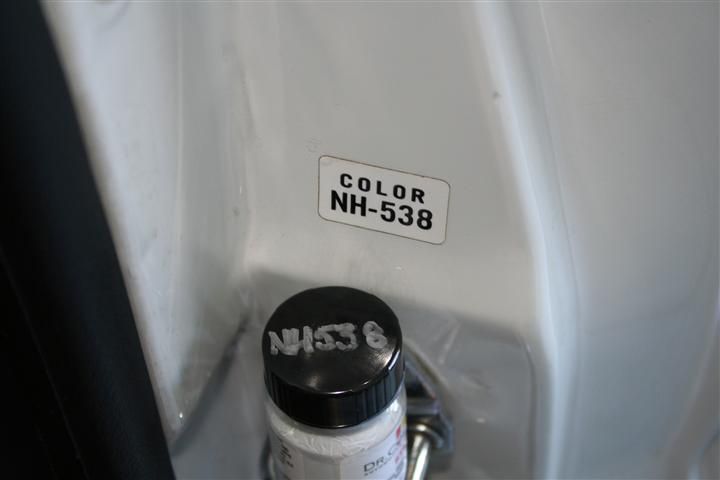
Confirmed that they sent me the correct color
![Image]()
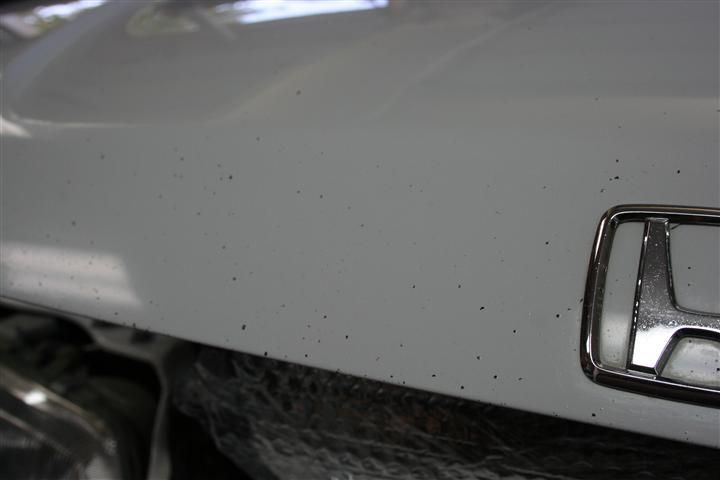
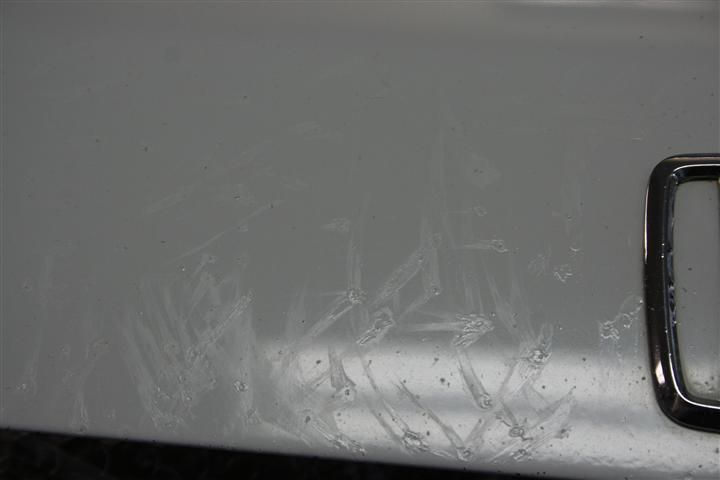
This is what I was dealing with
![Image]()
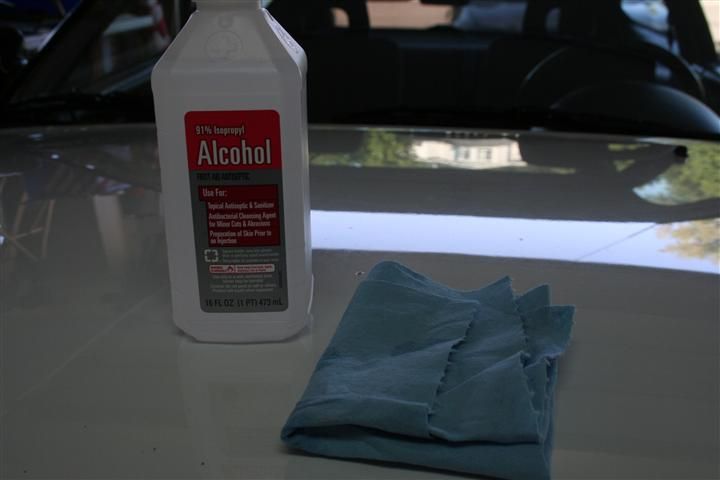
Prepped it with rubbing alcohol and a regular shop rag
![Image]()
LIGHTLY! sanded it with a block
![Image]()
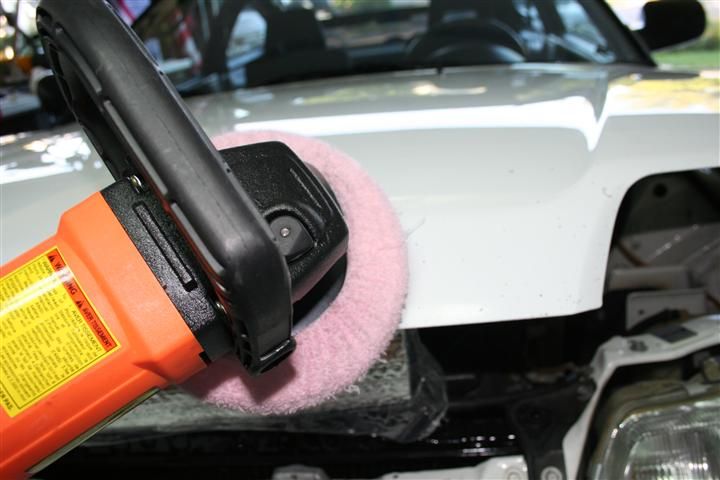
Used Walbernize on my polisher
![Image]()
Set it to the slowest speed and buffed out the scratches
![Image]()
Wiped it down with alcohol again. Dabbed and smeared the touch up paint as directed
![Image]()
Removed the excess with the SealAct
![Image]()
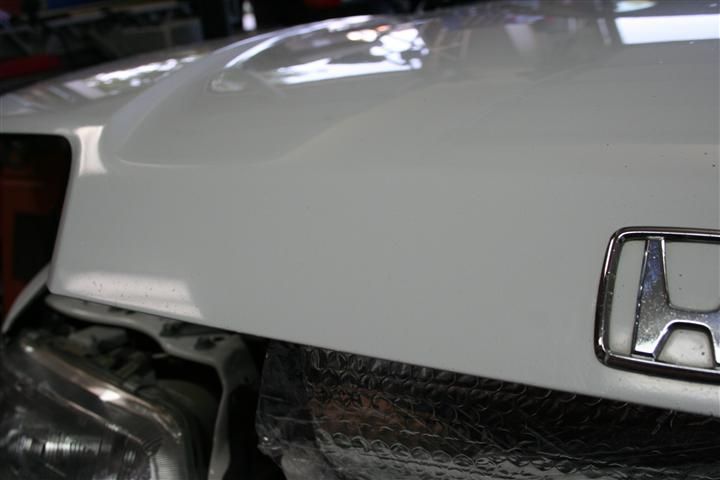
Compared to the other untouched side
![Image]()
You must clean the area with alcohol before starting to remove any dirt or wax on the surface.
Then you dab the paint into the chips with the supplied brush.
You are supposed to immediately smear the paint blob with your gloved hand (glove is supplied)
After the paint has dried, you wet the supplied wipe with the supplied SealAct and wipe the excess paint off.
Once I tied it the first time I figured that I could get better results if I started with a better surface. The paint had peaks and valleys from the rocks. If the Colorchip kit filled the valleys, I wanted to remove the peaks. This is where I deviated from the kit.
Warning!!! You can severely damage your paint if you are not careful or if you do not know what you are doing!
I sanded the road rashed area with a sanding block before starting. I'm not sure what grit it was, but I think it was 400 or 600. Be safe and use 1000 grit paper.
After sanding, I buffed it out with a polisher and Walbernize. I don't know if it is the proper thing to use, but it's what I had on hand.
After the scratches had been buffed out, I proceeded to use the kit as directed. I suppose you can repeat it to fill deep chips. In the end, the chips are still there, but they are pretty much hidden by the touch up paint. It's not perfect, but it's cheaper than a respray.
This is what comes in the kit: The "Special cloth" felt like a cleanroom wipe.
Confirmed that they sent me the correct color
This is what I was dealing with
Prepped it with rubbing alcohol and a regular shop rag
LIGHTLY! sanded it with a block
Used Walbernize on my polisher
Set it to the slowest speed and buffed out the scratches
Wiped it down with alcohol again. Dabbed and smeared the touch up paint as directed
Removed the excess with the SealAct
Compared to the other untouched side