

Hey was up my name is Danny and this is my project tell me what yall think. Sorry for not to good pictures.
![Image]()
Came across this from my boy at HMO
![Image]()
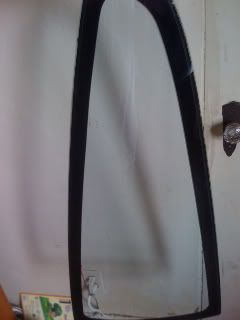
Before
![Image]()
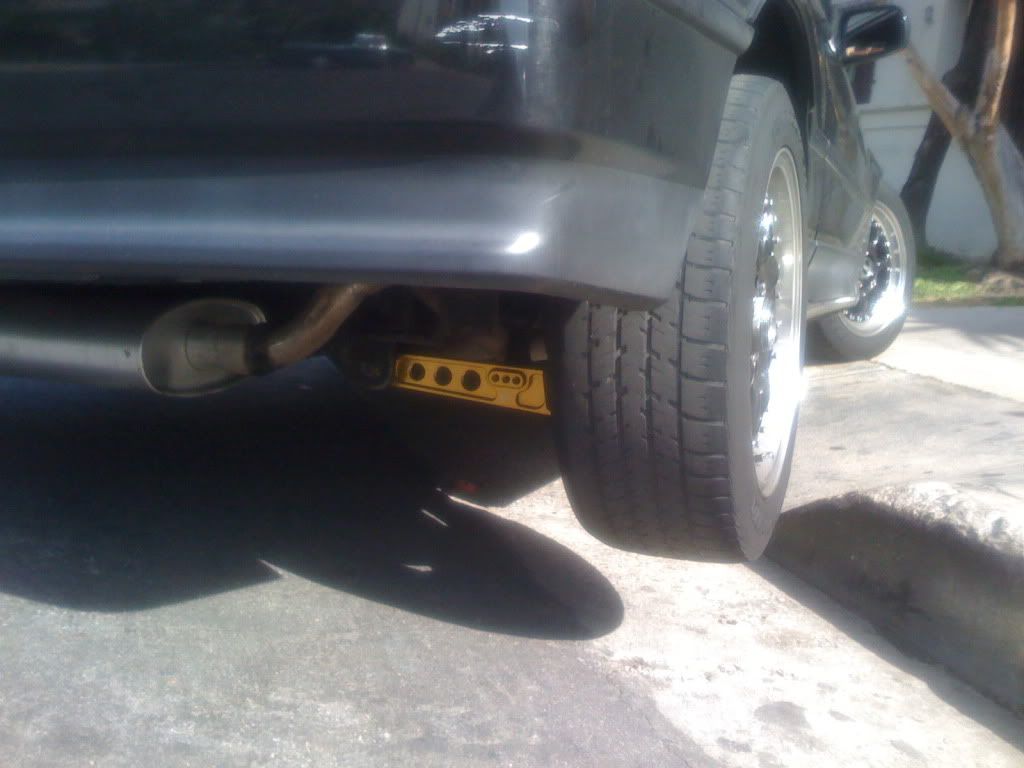
And after Oh and also install the Sir trunk
![Image]()
Installed my Skunk control arms
![Image]()
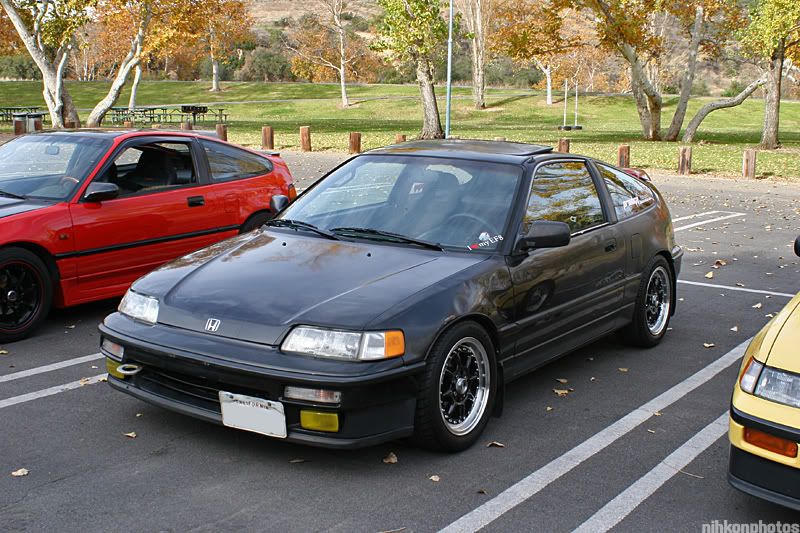
And Got My Fog Lights from my boy Marlon Thanks. And This is how my ef sits.
![Image]()
Will post more pictures later..
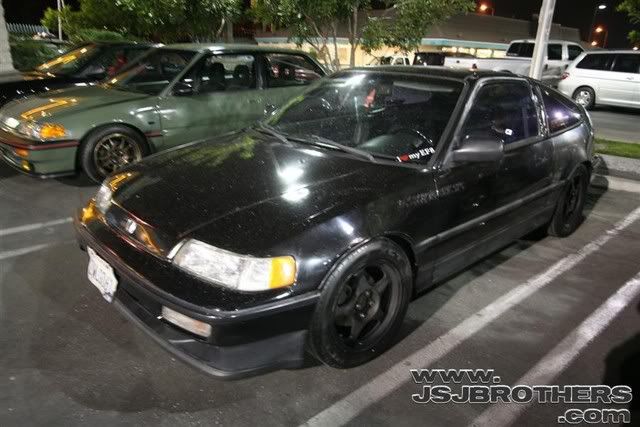
Came across this from my boy at HMO
Before

And after Oh and also install the Sir trunk

Installed my Skunk control arms
And Got My Fog Lights from my boy Marlon Thanks. And This is how my ef sits.
Will post more pictures later..
") b
b


