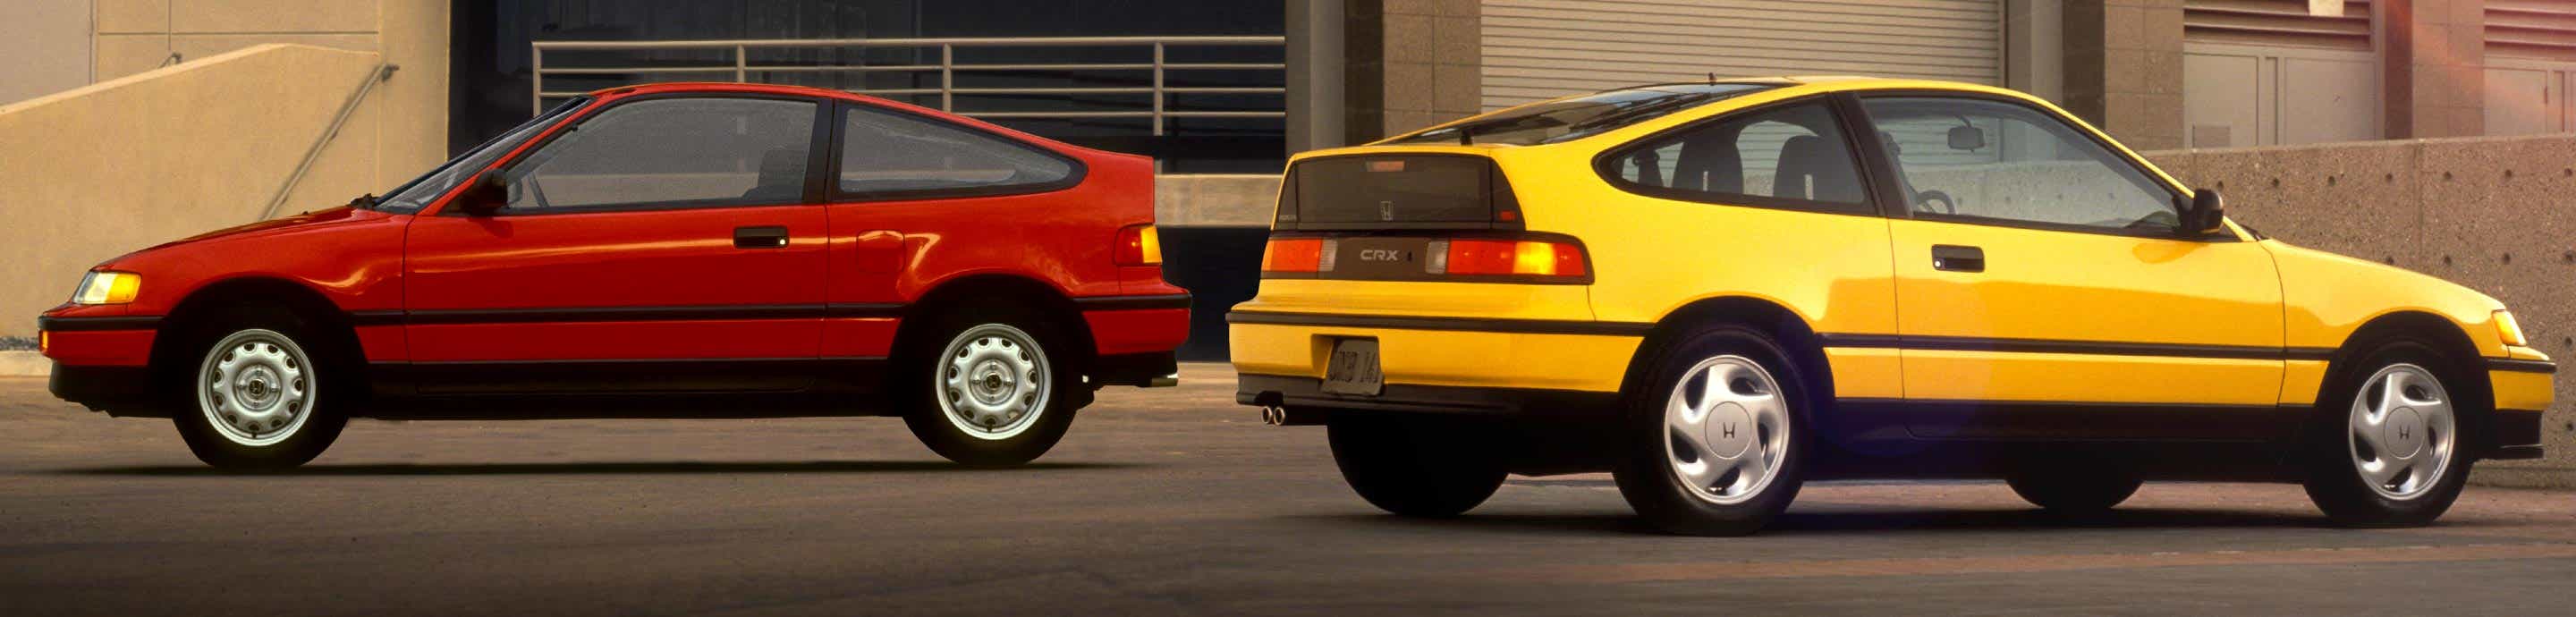

After being a member for a while, I guess it's time to start my own build thread. I got this car for my 17th birthday, and have had it for 9 months or so. Shortly after getting this car, I made the mistake of getting some halo headlights with black corner lights. Now I'm over that ricer stage, and I have better plans for the car. I've also put a wink mirror in the crx, which is the best $20 I've ever spent. When I bought the car, here's what it had done.
- b18a1 engine swap
- Hasport mounts
- Carbon fiber hood
- Greddy exhaust
- AEM intake
- Unknown headers
- Altezza tail lights
- 17" Motegi rims
- Pioneer head unit
- Aftermarket door speakers
- Short throw shifter
Another thing to note is that the entire car is lined with dynamat extreme. The previous owner did this because this was a competition db drag car. He told me he held the db record for loudest compact car in the Northeast. Here's a video of it in action
The previous owner removed all of his competition audio stuff, in case anyone was wondering. I don't have many pics of the car when I first got it, but that video does a good enough job. If anyone has any suggestions, feel free to leave them below. I'm fresh out of high school and don't know much about cars. In the future, I plan to use this car for autocross occasionally and restoring it. Here's some pictures of how it currently stands.
![Image]()
![Image]()
![Image]()
![Image]()
![Image]()
Currently I'm working on a hood that I just bought for the rex. It was $40 off of craigslist. It was tahiti green but it was spray painted black. They spray painted over a decal as well :crazy:
![Image]()
![Image]()
![Image]()
![Image]()
![Image]()
![Image]()
![Image]()
Here's the hood pins that came with the hood
![Image]()
This is the carbon fiber hood that's currently on the car. It's REALLY faded, as well as having some other damage, and in my opinion not worth trying to repair.
![Image]()
The paint stripper! Worked amazing at first, but when it came down to the tahiti green it let me down, I used that entire container, as well as a smaller container of paint stripper and there was still paint on the hood.
![Image]()
Me saying goodbye to the spray paint hack job
![Image]()
![Image]()
![Image]()
![Image]()
![Image]()
![Image]()
![Image]()
My brother helping out
![Image]()
My girlfriend hiding in the background haha
![Image]()
Yummy
![Image]()
My other bro helping, wow this is turning into a family thing..
![Image]()
After the paint stripper was gone, I went and bought a wire brush head for the drill to finish the job
![Image]()
![Image]()
![Image]()
Someone doesn't like pictures :lol:
![Image]()
Paint stripper making me want to kill myself
![Image]()
![Image]()
Getting there slowly
![Image]()
![Image]()
I learned an important lesson about bondo; use only enough as necessary.
![Image]()
One of my friends finishing up the bondo
![Image]()
My camera broke, but currently I'm sanding the bondo and prepping the hood for paint. I'm debating if I should paint (spray paint) it white or black, because I don't have the funds to get the entire car painted. At first thought it was obvious that I should paint the hood white, but a freshly painted white hood vs. the 20 year old paint job on the crx has me questioning it. Oh yea, I'm a pic whore if you haven't noticed :mrgreen:
- b18a1 engine swap
- Hasport mounts
- Carbon fiber hood
- Greddy exhaust
- AEM intake
- Unknown headers
- Altezza tail lights
- 17" Motegi rims
- Pioneer head unit
- Aftermarket door speakers
- Short throw shifter
Another thing to note is that the entire car is lined with dynamat extreme. The previous owner did this because this was a competition db drag car. He told me he held the db record for loudest compact car in the Northeast. Here's a video of it in action
The previous owner removed all of his competition audio stuff, in case anyone was wondering. I don't have many pics of the car when I first got it, but that video does a good enough job. If anyone has any suggestions, feel free to leave them below. I'm fresh out of high school and don't know much about cars. In the future, I plan to use this car for autocross occasionally and restoring it. Here's some pictures of how it currently stands.


Currently I'm working on a hood that I just bought for the rex. It was $40 off of craigslist. It was tahiti green but it was spray painted black. They spray painted over a decal as well :crazy:


Here's the hood pins that came with the hood

This is the carbon fiber hood that's currently on the car. It's REALLY faded, as well as having some other damage, and in my opinion not worth trying to repair.

The paint stripper! Worked amazing at first, but when it came down to the tahiti green it let me down, I used that entire container, as well as a smaller container of paint stripper and there was still paint on the hood.

Me saying goodbye to the spray paint hack job


My brother helping out

My girlfriend hiding in the background haha

Yummy

My other bro helping, wow this is turning into a family thing..

After the paint stripper was gone, I went and bought a wire brush head for the drill to finish the job


Someone doesn't like pictures :lol:

Paint stripper making me want to kill myself


Getting there slowly


I learned an important lesson about bondo; use only enough as necessary.

One of my friends finishing up the bondo

My camera broke, but currently I'm sanding the bondo and prepping the hood for paint. I'm debating if I should paint (spray paint) it white or black, because I don't have the funds to get the entire car painted. At first thought it was obvious that I should paint the hood white, but a freshly painted white hood vs. the 20 year old paint job on the crx has me questioning it. Oh yea, I'm a pic whore if you haven't noticed :mrgreen:


") b
b


