

Hey everyone I know a lot of you probably don't know me, but I am sure some of you may have seen my car floating around the forums a few years ago.
My name is Marlon or SiRMarlon as I was known on most boards. I have been away from the honda scene for quite a few years now. The reason I am here is because I noticed that I still get hit up quite often in regards to the glass top install that I did on my CRX a couple of years ago. I did this install and somewhat posted a "write up" on JDMUniverse which is a forum that I use to frequent and mod on.
The forum has been up and down and the pictures were no longer showing. I've had some time to upload all the shots over to my photobucket account that has been active for years, and will continue to be active for years to come.")
I figured it would probably be a smart idea to move the thread over to a forum that makes sense. CRXCommunity is a nice big CRX forum, so it makes absolute sense for this thread to be here. As for the "write up" itself someone once said that this method was a "lazy pos" way to do it...
To that person I say this...at the time of write up, I had ZERO skills in body work, welding, or any kind of fabrication. I have always been a do it yourself-er and DID NOT want to pay anyone to do this for me. The reason I did the "layered" install was because it's a method that works, I was not the 1st person to install a glass top this way, and I am sure I have not been the last. Now that I have fab skills, and I can weld would I do it that way...NO, I would spot weld the top skin on the car instead of fusing it.
Anyway, if anyone has any questions please feel free to reach out to me.
Marlon@SiRMarlon.com
The thread is a copy and paste....
So as many of you know I got my hands on a SiR Glasstop for my CRX, well Chris (EF_Squad) was kind enough to hunt down the glasstop headliner for me (which was the deciding factor for me buying the glasstop) So anyway I finally got started on the top this week.
I am writing this up in a new Thread because Carlos lost all his pictures from his write up! So this will be in write up form as well! I will try and dump as much information as I can as I gather it up from different sources! I Still don't know what I am doing, so I am just kind of winging it on what I hear from people! Hopefully I don't fuck it up to bad!
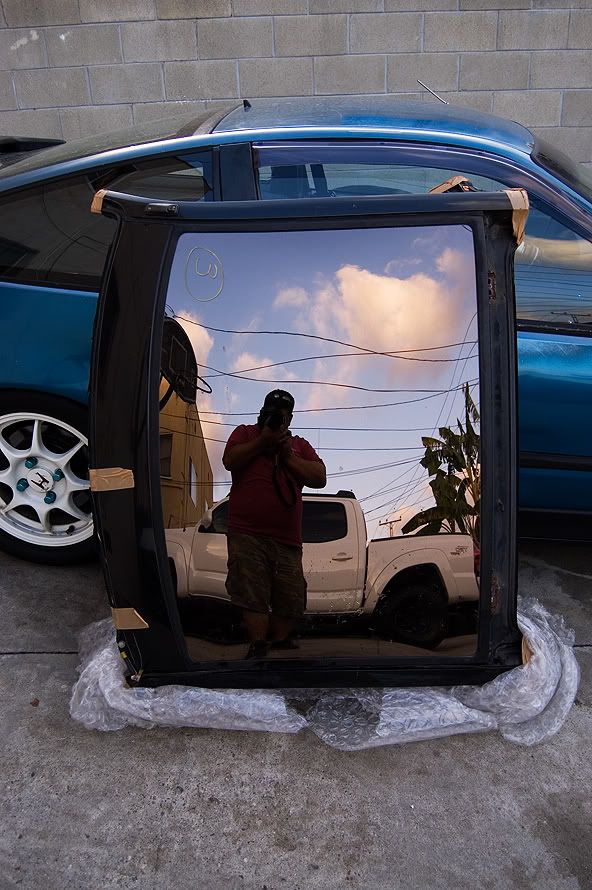
This past Sunday I took the top to a glass shop here in LA (They have taken numerous glass tops off so they know what they are doing) So I picked up both pieces about an hour after I dropped it off, I had told my brother if the glass broke it was because it wasn't meant to be! :smash: But sure enough the glass came off without a hitch and I drove home a happy camper!
The Day I picked it up!
![Image]()
What it's going on!
![Image]()
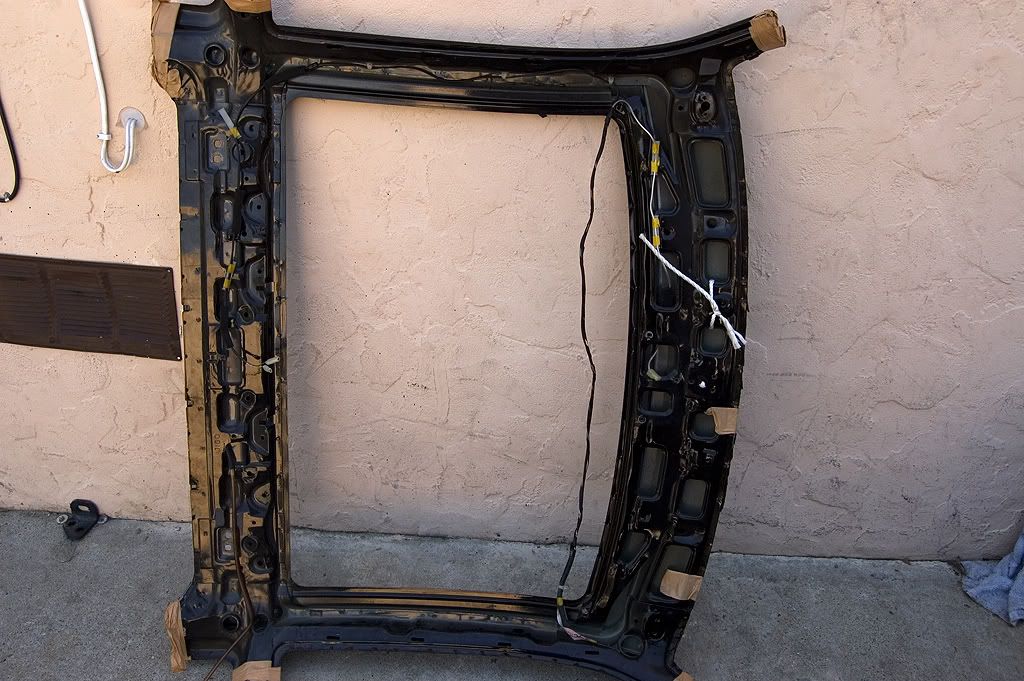
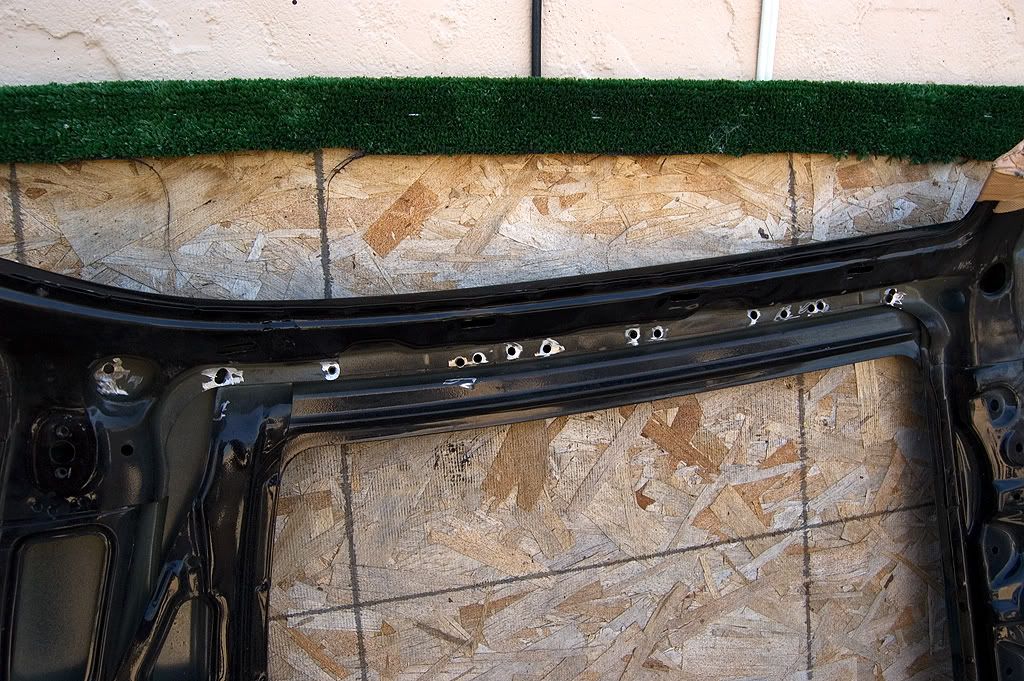
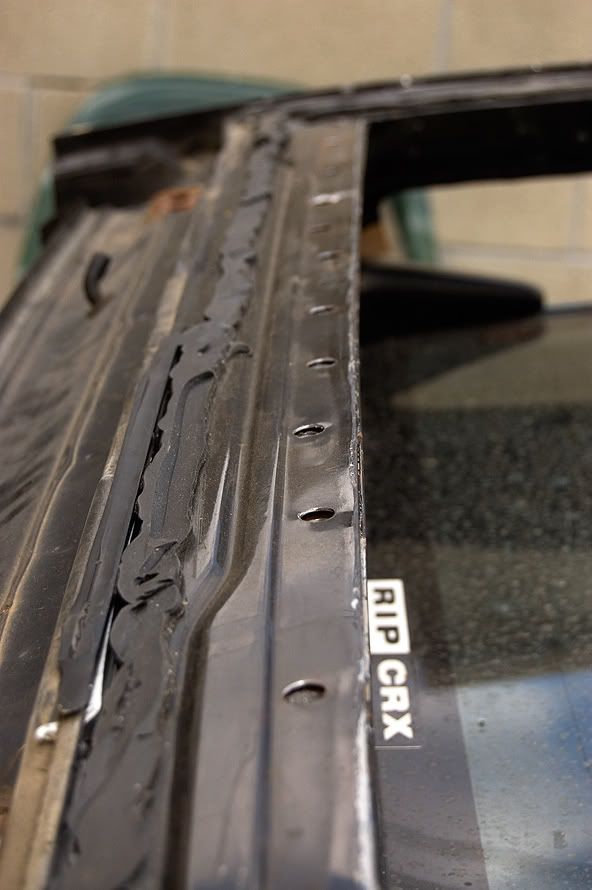
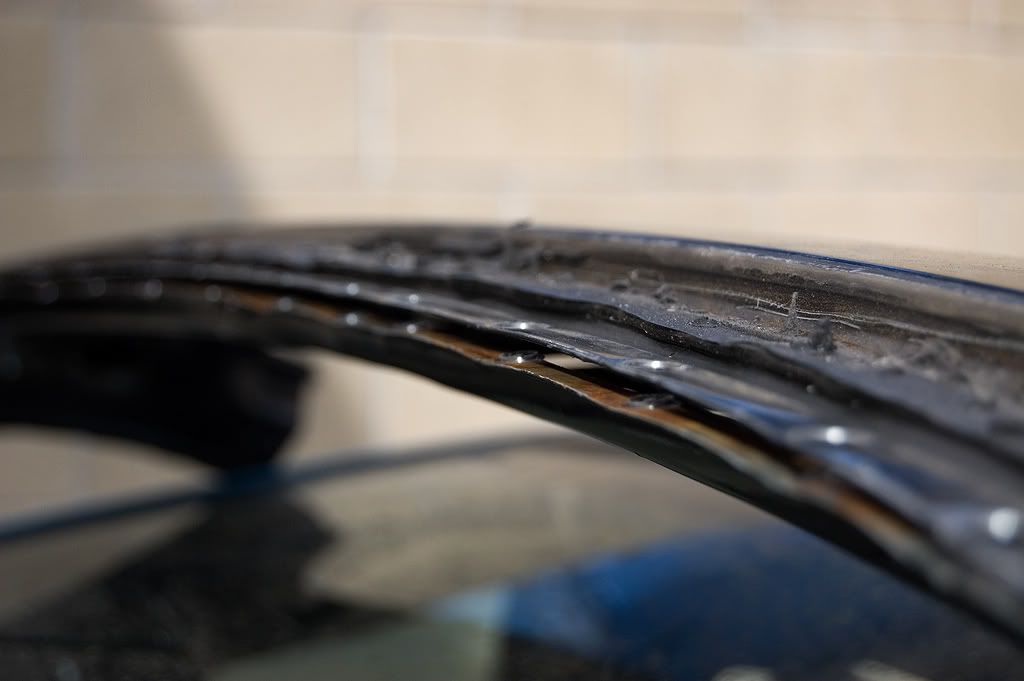
And here is what it looks like once you get the glass removed, and all the panels removed...
![Image]()
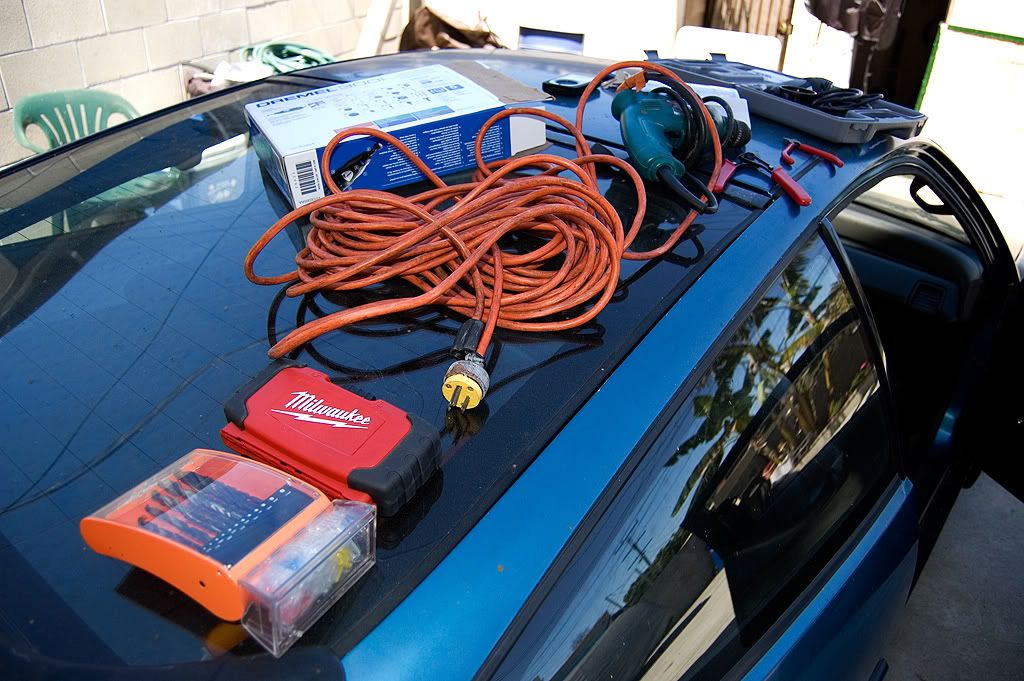
Next what you will need are the tools of the trade or so I thought!!
![Image]()
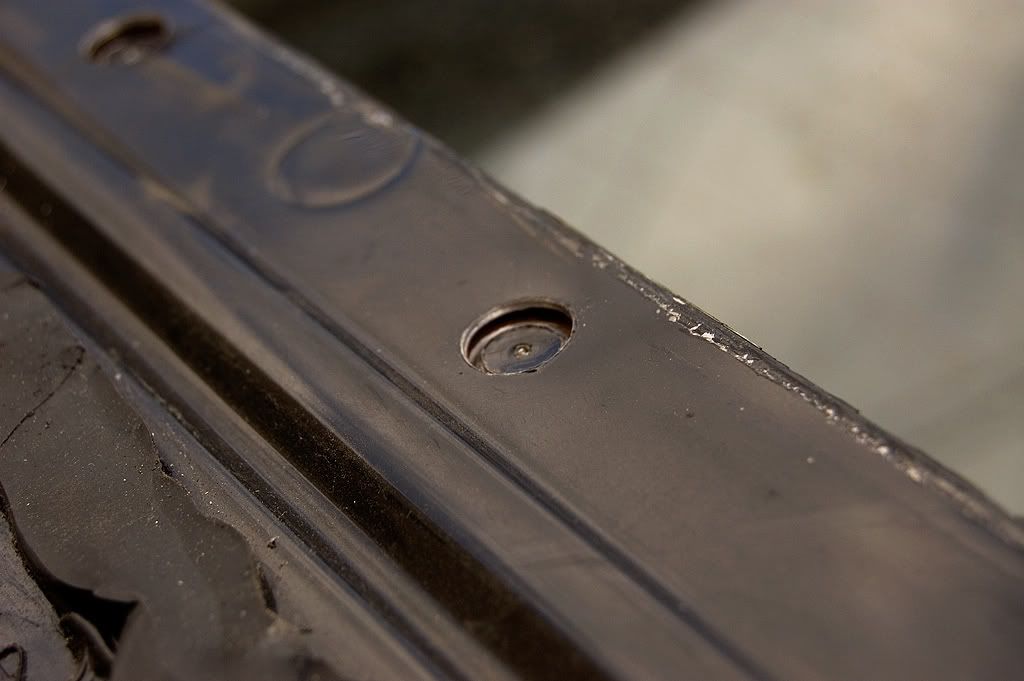
Let me tell you something I ruined my drill bits! These spot weld are really tough and take a long time to drill out...It took me a while to get these right here drilled out
![Image]()
![Image]()
![Image]()
My bits were working at first but would quickly lose there bite...so I started asking around some of the local body shops what they use and they all pointed in the same Direction!
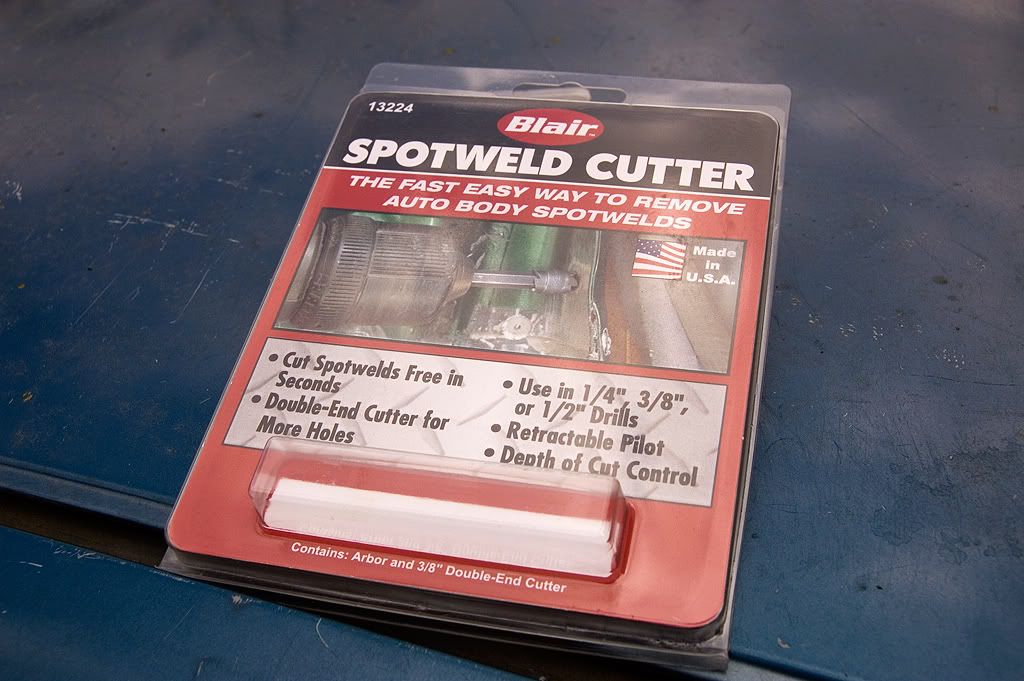
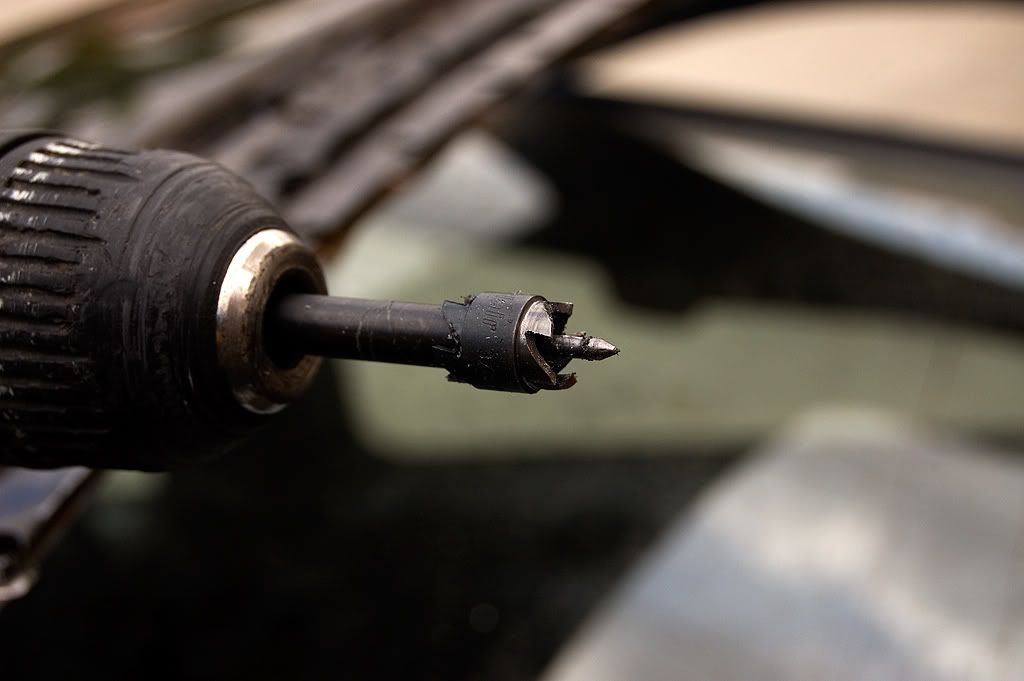
Blair Equipment sells a really sweet Spotwell removal drill bit! This will make your life so much easier! It doesn't dull down because it cuts around the spot weld instead in directly into it! and its super fast!! Make sure you also have a Center Punch as you will need it!!!
![Image]()
![Image]()
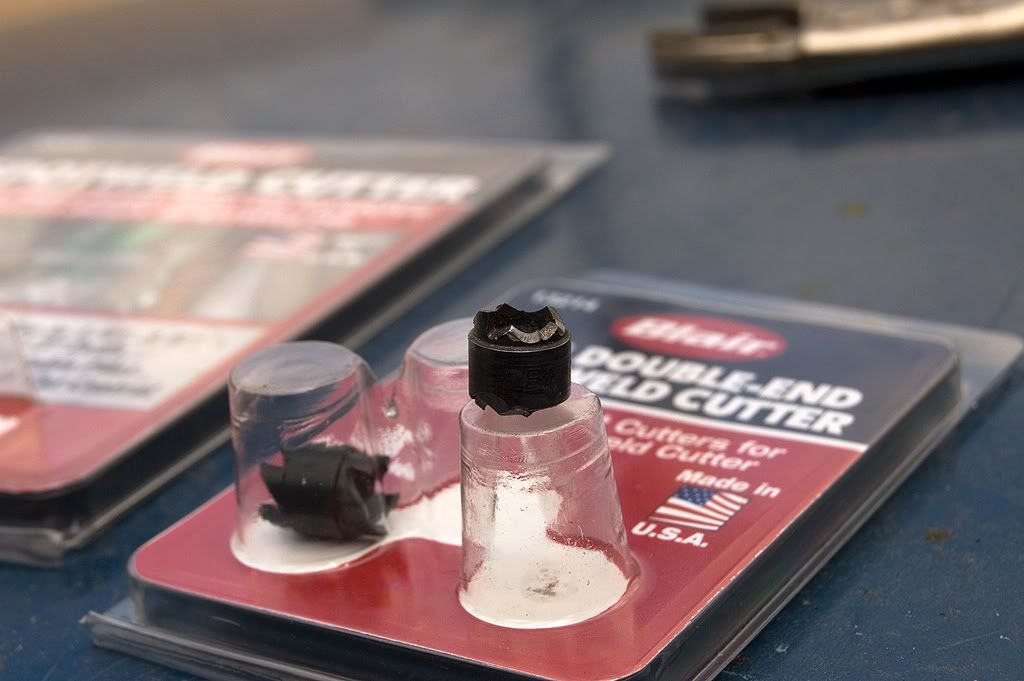
Just make sure that you read the instructions! I ended up blowing up 2 bits because I did not read the instructions right! You have to be gentle with these bits, once you get the hang of it, it's like baking a cake!
Broken bit from not following instructions!
![Image]()
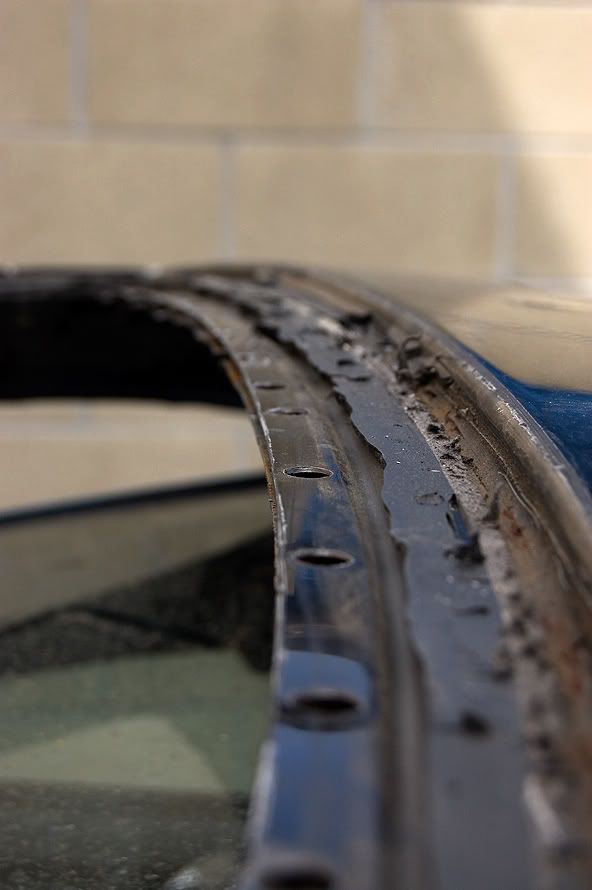
And end results! It took me like 30 mins to get the welds off compared to about 2 hours the other day!
![Image]()
![Image]()
![Image]()
![Image]()
![Image]()
So that's it for today! I am going to try and get the top off by the end of the weekend! (Crosses fingers)
On a side note Carlos give me a call bro! I need your guidance and wisdom!! :smash:
My name is Marlon or SiRMarlon as I was known on most boards. I have been away from the honda scene for quite a few years now. The reason I am here is because I noticed that I still get hit up quite often in regards to the glass top install that I did on my CRX a couple of years ago. I did this install and somewhat posted a "write up" on JDMUniverse which is a forum that I use to frequent and mod on.
The forum has been up and down and the pictures were no longer showing. I've had some time to upload all the shots over to my photobucket account that has been active for years, and will continue to be active for years to come.
I figured it would probably be a smart idea to move the thread over to a forum that makes sense. CRXCommunity is a nice big CRX forum, so it makes absolute sense for this thread to be here. As for the "write up" itself someone once said that this method was a "lazy pos" way to do it...
To that person I say this...at the time of write up, I had ZERO skills in body work, welding, or any kind of fabrication. I have always been a do it yourself-er and DID NOT want to pay anyone to do this for me. The reason I did the "layered" install was because it's a method that works, I was not the 1st person to install a glass top this way, and I am sure I have not been the last. Now that I have fab skills, and I can weld would I do it that way...NO, I would spot weld the top skin on the car instead of fusing it.
Anyway, if anyone has any questions please feel free to reach out to me.
Marlon@SiRMarlon.com
The thread is a copy and paste....
So as many of you know I got my hands on a SiR Glasstop for my CRX, well Chris (EF_Squad) was kind enough to hunt down the glasstop headliner for me (which was the deciding factor for me buying the glasstop) So anyway I finally got started on the top this week.
I am writing this up in a new Thread because Carlos lost all his pictures from his write up! So this will be in write up form as well! I will try and dump as much information as I can as I gather it up from different sources! I Still don't know what I am doing, so I am just kind of winging it on what I hear from people! Hopefully I don't fuck it up to bad!
This past Sunday I took the top to a glass shop here in LA (They have taken numerous glass tops off so they know what they are doing) So I picked up both pieces about an hour after I dropped it off, I had told my brother if the glass broke it was because it wasn't meant to be! :smash: But sure enough the glass came off without a hitch and I drove home a happy camper!
The Day I picked it up!
What it's going on!

And here is what it looks like once you get the glass removed, and all the panels removed...
Next what you will need are the tools of the trade or so I thought!!
Let me tell you something I ruined my drill bits!
These spot weld are really tough and take a long time to drill out...It took me a while to get these right here drilled out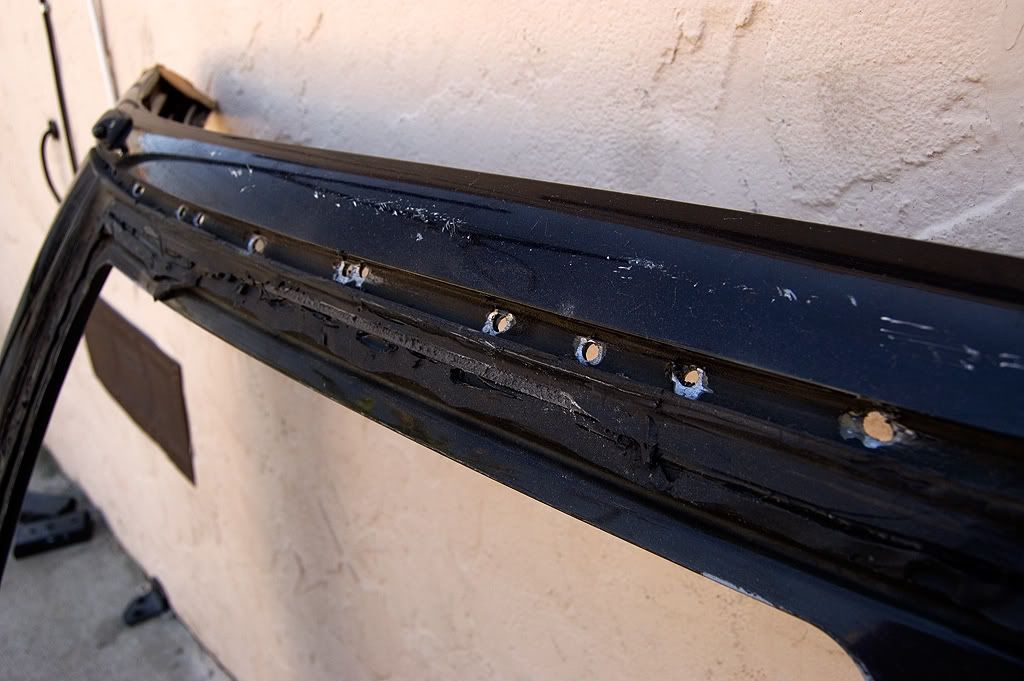

My bits were working at first but would quickly lose there bite...so I started asking around some of the local body shops what they use and they all pointed in the same Direction!
Blair Equipment sells a really sweet Spotwell removal drill bit! This will make your life so much easier! It doesn't dull down because it cuts around the spot weld instead in directly into it! and its super fast!! Make sure you also have a Center Punch as you will need it!!!
Just make sure that you read the instructions! I ended up blowing up 2 bits because I did not read the instructions right! You have to be gentle with these bits, once you get the hang of it, it's like baking a cake!
Broken bit from not following instructions!
And end results! It took me like 30 mins to get the welds off compared to about 2 hours the other day!

So that's it for today! I am going to try and get the top off by the end of the weekend! (Crosses fingers)
On a side note Carlos give me a call bro! I need your guidance and wisdom!! :smash:


